When it comes to outdoor electrical projects, safety is simply paramount. Installing a new outdoor electrical outlet requires proper planning, knowledge of electrical systems, and adherence to safety guidelines.
From choosing the right location and preparing the necessary tools to wiring the outlet and testing it for functionality, we will guide you through the process, helping you create a convenient and reliable power source for your outdoor space.
Tools Needed for Electrical Repair
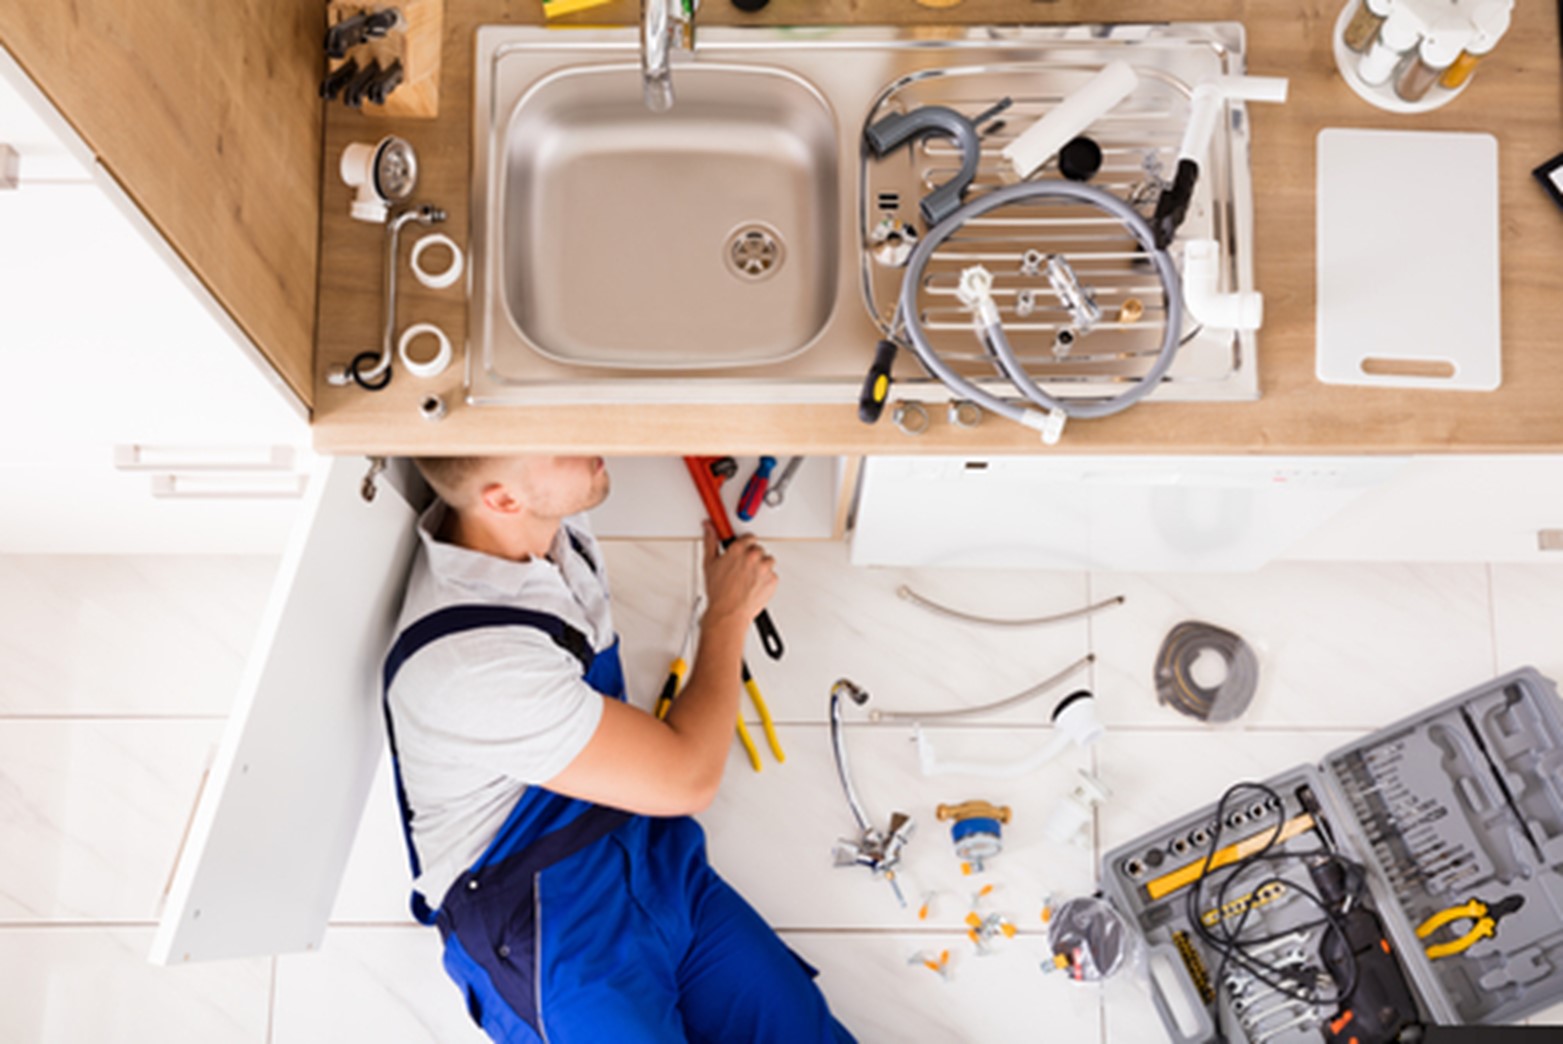
The right tools are essential to ensuring efficiency and safety when doing electrical repairs or renovations.
Here are some of the tools you may need for common electrical repair tasks:
- Screwdrivers. A set of screwdrivers of different sizes and types, including flathead and Phillips, will help you remove and install screws in electrical panels, electrical outlets, and switches.
- Pliers. Needle-nose pliers and wire strippers are handy for gripping and cutting wires during electrical repairs.
- Wire Cutters. Wire cutters are designed to cut and trim electrical wires to the desired length.
- Voltage Teste. A voltage tester lets you check if an electrical circuit is live or de-energized before working on it, ensuring your safety.
- Electrical Tape. Electrical tape insulates exposed wires and provides a secure and safe connection.
- Wire Connectors. Wire connectors, such as twist-on wire nuts or crimp connectors, are used to join or terminate electrical wires securely.
- Circuit Tester. A circuit tester is used to identify faulty circuits, detect open or shorted wires, and troubleshoot electrical issues.
- Fish Tape. A fish tape is a flexible tool that routes or pulls electrical wires through conduits or behind walls during electrical installations.
- Flashlight. A reliable flashlight will help you see dimly lit areas and inspect electrical components precisely.
You must always follow safety precautions, and if you’re unsure about any electrical repairs, call a qualified electrician for a consultation. Having the right electrical tools and knowledge will make your electrical repair projects safer and more successful.
Installation Instructions
An outdoor electrical outlet can significantly improve the functionality and convenience of your outdoor environment.
Having an accessible power supply can make your outdoor activities more enjoyable, whether you need to power outdoor lighting, equipment, or entertainment devices.
However, it is necessary to follow precise installation guidelines to ensure safety and compliance with electrical rules.
This guide will follow you through the step-by-step installation process, from selecting the best place to installing the outlet and checking its performance.
You’ll be able to install a new outdoor electrical outlet with confidence and peace of mind if you follow these guidelines.
#1 Choose Installation Location
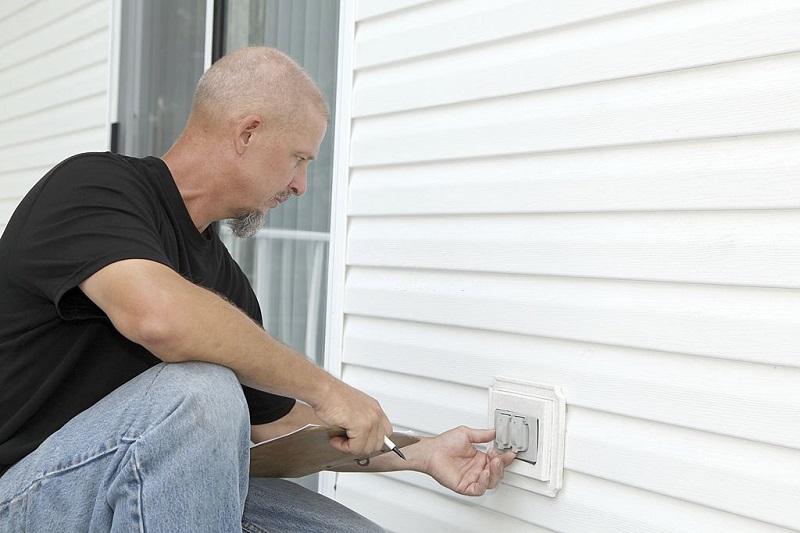
Selecting the right location for your outdoor electrical outlet is crucial. Consider accessibility, proximity to electrical sources, and weather protection. Choose a spot that is convenient and meets local electrical codes and regulations.
#2 Shut off the Main Power
Before starting any electrical work, ensure your safety by shutting off the main power at the circuit breaker or fuse box. This step prevents the risk of electric shock and protects you during installation.
#3 Inspect the Electrical Wires
Carefully inspect the electrical wires to ensure they are in good condition. Look for any frayed or damaged insulation and address any issues before proceeding with the installation.
#4 Drill Through Walls
If necessary, drill a hole through the exterior wall to create a pathway for the electrical wires. Use appropriate electrical tools and techniques to make a clean and precise hole.
#5 Run Electrical Wires Through the Outlet Box
Feed the electrical wires through the outlet box and secure them properly. Make sure to leave enough slack for easy installation and connection.
#6 Rewire and Connect Electrical Wires
Follow the manufacturer’s instructions and local electrical codes to connect the electrical wires correctly. Use wire connectors or terminal screws to establish secure and proper connections.
#7 Mount Electrical Outlet
Securely mount the electrical outlet to the wall or surface, ensuring it is level and securely fastened. Use the appropriate screws or mounting hardware provided with the outlet.
#8 Install Cover and Test
Attach the appropriate cover or faceplate to the outlet to protect it from the elements. Once the installation is complete, turn the main power back on and test the outlet to ensure it is functioning properly.
Always exercise caution and consult a qualified electrician if you are unsure about any step of the installation process. Following these instructions will help you safely instal a new outdoor electrical outlet for your convenience and functionality.
Call an Electrician for Help
While installing a new outdoor electrical outlet can be a DIY project for some, it’s important to recognise your limitations and know when to seek professional assistance.
Electrical services can be complex and potentially dangerous if not done correctly. If you have limited experience with electrical repairs or feel uncertain about any aspect of the installation process, it’s best to call an expert electrician for help.
A licensed electrician has the knowledge, expertise, and electrical tools to handle electrical installations safely and efficiently. They can ensure that the installation meets all local codes and regulations, minimising the risk of electrical hazards.
Additionally, an electrician can offer valuable advice and guidance, helping you choose the right type of outlet and providing recommendations based on your specific needs.
By using the services of a licensed electrician, you can have peace of mind knowing that the outdoor electrical outlet will be installed correctly and in compliance with safety standards.
Your safety and the proper functioning of the electrical system are worth the investment in professional expertise.
Conclusion
In conclusion, installing a new outdoor electrical outlet can provide easy power access for various outdoor activities.
However, it is critical to prioritise safety throughout the installation procedure.
You can ensure a safe and reliable installation by following the recommended steps, which include selecting a suitable placement, turning off the main power, verifying the electrical wiring, and properly connecting the outlet.
Remember to use the proper electrical tools, take precautions, and consider obtaining expert help if necessary.
You can enjoy the benefits of a functional and secure outdoor electrical outlet in your home with good planning, cautious implementation, and respect for electrical safety requirements.

